In business, it’s wise to expect the unexpected. Misunderstandings happen. Disputes occur. Issues arise without warning.
When these things cause disruptions, it’s comforting to know you and your clients are protected. By what exactly? Your roofing contract.
A roofing contract is a legally binding document. It outlines all the important details of the project. It also makes sure you and your client are on the same page.
It’s important to get your contracts right. One wrong word or one missing clause might seem harmless enough. But if the worst should happen, you could end up facing serious repercussions.
In this guide, you’ll learn the benefits of having a well-drafted contract. We’ll list and define the key elements.
We’ll share easy-to-follow instructions on how to draft a roofing contract. Then, we’ll touch on the legal considerations you can’t ignore.
Finally, we’ll give you some quick tips you can follow today.
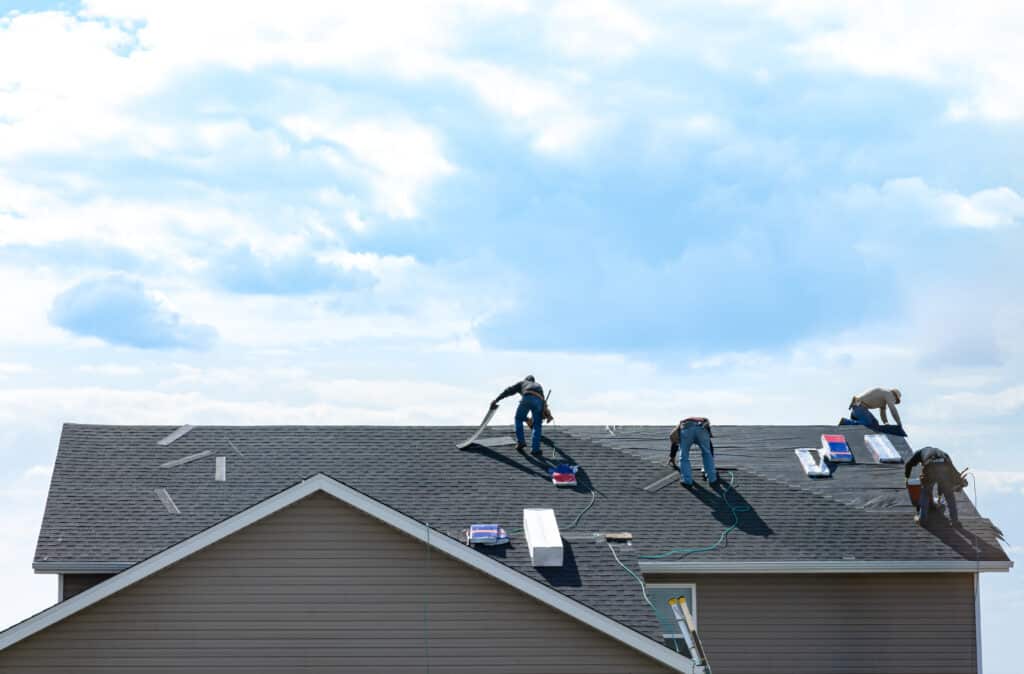
An air-tight contract is a lot like a sturdy, well-installed roof. It keeps everything safe, sound, and out of harm’s way. Let’s get started!
FROM ONE OF OUR PARTNERS: How to Grow a Roofing Business
Benefits of Having a Well-Drafted Roofing Contract
A roofing contract is a legal document. It’s a written agreement between you and your client.
It details all the elements of your roofing project, like the scope, timeline, and payment schedule.
When everyone agrees on these elements, they both sign the document. This is proof that everyone’s expectations are aligned.
Without a solid roofing contract, you can run into some sticky situations. This includes:
- Disagreements over when and how payments should be made
- Clients refusing to pay for unexpected expenses
- Clients deciding they don’t want to proceed close to or during the project
- Clients claiming the work was not completed to their expected quality standards
- Difficulties resolving legal conflicts resulting in expensive courtroom battles
On the flip side, the advantages of a comprehensive and clear roof contract include:
- Realistic start and end dates so clients’ expectations are aligned with yours and your schedule stays on track
- Clear processes to follow if changes are made to the project’s scope
- Client understanding of payment terms, which protects your cash flow
- A complete list of materials that will be used, preventing potential disputes
- Liability protection should you be held responsible for issues outside of your control, like weather delays

Key Elements in a Roofing Contract
Every roofing job is different. But when it comes to contracts, there are certain key elements you should never skip.
Scope of Work
The scope of work is the backbone of your roofing contract. It details exactly what you will do, from tear-off to clean-up.
It prevents misunderstandings too. Both you and your client know precisely what will be included in the job.
Payment Terms
Payment terms specify how and when you will be paid. For example, you might get an upfront deposit, progress payments, and a final payment when the job is done.
Clear payment terms make sure you don’t run out of cash mid-way through the job. You have enough to purchase materials and pay employees to finish the project.
They also help you avoid nasty payment disputes. These can fracture client relationships and damage your reputation.
FROM ONE OF OUR PARTNERS: How to Do an Invoice for Roofing (with Free Invoice Template)
Project Timeline
Every client wants their project done yesterday. But you’re busy, and quality work takes time.
A timeline sets clients’ expectations. They know upfront how long it will realistically take to finish the project.
The contract might also outline how delays will be handled.
Materials to Be Used
Listing the specific materials prevents surprises. Everyone knows what the finished roof will look like.
Material lists also add context to your pricing. Your clients can see in black and white exactly what they’re paying for.
Warranty Information
Include details about any warranties on labor and materials you offer.
This protects you if there are issues with the roof after the job is done. It also gives your client peace of mind.
Change Order Process
Changes happen all the time. It’s important to document how you’ll manage them.
Do they need to be approved? How will they impact the timeline? What about the cost?
Being upfront about these considerations protects you financially. It also helps clients decide whether a change is worth it.
Liability and Insurance
Insurance covers your business when something goes wrong, like injuries or property damage. Your contract should state that you have liability insurance.
Termination Clause
A termination clause is a statement that explains how the contract can be voided.
It explains what happens if you or your client decide to cancel the job. For example, will their deposit be returned?
RELATED ARTICLE: 9 Essential Elements Every Roofing Contract Should Include

Step-by-Step: How to Draft a Roofing Contract
Use the steps below to draft a roofing contract that protects you and your business.
Step 1: Conduct Preliminary Research
Remember, contracts are legally binding. So, research the requirements in your area, state, or province. Look at licensing and insurance rules. Find out about building codes.
You should know the laws inside and out. That way, you can correctly apply them to your contract.
Insider tip: Rules evolve over time. Routinely check for changes in local regulations.
Step 2: Identify the Parties Involved
Now, define all parties involved in the contract. This will likely be your business and the client. The client might be an individual, couple, or company.
Include the full legal names of all people and entities involved. Add their contact information too.
Insider tip: Put in the address of the property where the work will be performed. That way, you won’t mix it up with any other projects.
Step 3: Determine the Scope of Work
Be detailed here. Write down every task involved. Include preliminary steps like removing old roof tiles. Add in the clean-up too.
You can also list the materials in this section.
The scope is one of the most important sections when setting clear expectations.
Step 4: Outline Terms and Conditions
This part is like the fine print. It’s the rules of the contract.
It will include things like your payment terms—for example, late fees, payment structure, and payment method.
It also outlines how you’ll implement changes to the scope.
Insider tip: Use simple language and avoid jargon. Any client should be able to understand your terms.
Step 5: Include Warranty Information
Next, add warranty information. Note how long the warranty lasts and what it covers.
Step 6: Draft the Contract Document
Now, it’s time to start drafting your document.
Use a clear and organized format. Begin with an introduction that states the purpose of the contract.
Then, follow with sections that cover the elements above.
Step 7: Review with Legal Counsel
Before sending off your contract, it’s smart to hire a lawyer to look at it. They are experts who can help you spot any issues or unclear terms.
This step makes sure that your contract is legally sound and enforceable.
Step 8: Incorporate Adjustments
Make the changes your lawyer suggested.
You might re-word some of the terms. Or you might add in missing information.
Step 9: Finalize the Contract
Print out copies for both you and the client. Alternatively, use a secure online service like Docusign.
Give the client time to review the contract, request changes, or ask for clarification.
When everyone agrees, it’s time to sign the dotted line. The contract is now live and enforceable.
Insider tip: Keep a digital copy of the signed contract in a secure location. You can scan it or take a photo with your phone.
FROM ONE OF OUR PARTNERS: 4 Strategic Insights for the Roofing Industry
Legal Considerations for a Roofing Contract
A well-drafted contract is not just about good business. It’s also about staying out of trouble and protecting yourself.
Don’t skip these legal considerations:
State Laws and Regulations
Every area has specific laws and regulations about construction contracts. These laws cover everything from licensing rules to required contract terms.
Ignore them, and you could be fined or penalized with legal action.
Further reading: The National Association of State Contractors Licensing Agencies (NASCLA) lists licensing requirements for each US state.
Insurance Coverage and Liability Protection
Insurance is your safety net. Your contract should mention that you have both liability and workers’ compensation insurance.
This protects your business. It also reassures clients they won’t be held responsible for accidents on their property.
Further reading: Check out the Small Business Administration (SBA) guide to business insurance.
Strategies for Resolving Disputes
Even with a solid contract in place, disputes can happen.
To help things get resolved as painlessly as possible, add a clause in your contract. This should explain how disagreements will be handled.
Further reading: Learn more about mediation and arbitration from the American Arbitration Association (AAA).
Contingency Plans for Unexpected Scenarios
Bad weather, material shortages, family emergencies—things don’t always go to plan. Your contract should include contingency processes for these situations.
For example, what will you do if you can’t get the materials listed? What if poor weather conditions delay work for a week or more?
Further reading: Look at this guide to creating a contingency plan for your business.
Top Tips for Drafting a Roofing Contract
Here are four tips you can use now to draft an effective roofing contract:
- Research state laws. Use this knowledge to check that your contract ticks all the legal boxes.
- Revisit your terms and conditions. Are they up to date? Are they easy to understand?
- Check your insurance. Is your coverage still adequate? Make sure your liability and workers’ compensation insurance will cover both you and your client.
- Make it clearer. Have a read through your drafted contract. Is there anywhere you could make it clearer? Could you use simpler language? The free Hemingway Editor is a useful writing tool.
CREATE YOUR OWN ROOFING CONTRACT FOR FREE
Sign up for a free trial of RoofSnap and use the roofing contract template in our software as a starting point for your own roofing contracts.