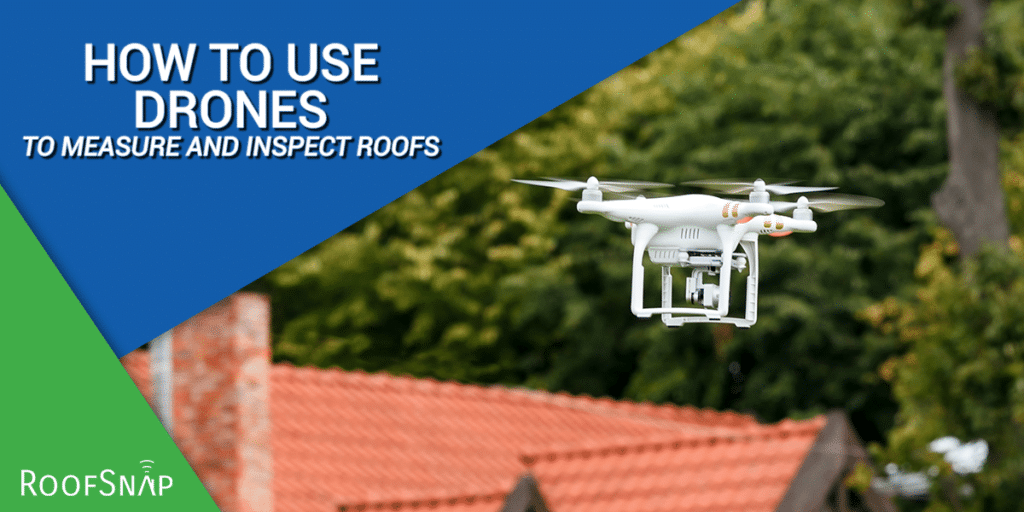
In 2021, there’s no better way to impress your customers while also saving your company time on sales calls than by employing a drone to measure and estimate your roofing projects. But how does it work exactly? With roofing-focused software like RoofSnap, the process is as simple as flying the drone, taking your inspection photos (as well as a higher-altitude photo for measurements), and obtaining one, on-site measurement for scale. We’ll take you through how to use drones to measure and inspect roofs step-by-step in this month’s blog.
Step One: Image Acquisition
The first step to measuring and estimating a roof with a drone is collecting the right images. To measure a roof from a drone image, you’ll need a high-altitude image in order to minimize distortion from the curvature of the lens, and make sure that you’re able to see the entire property. To obtain an image for measuring, you’ll want to fly your drone as high as you can while respecting any altitude limitations in the area you’re flying, in the United States this is usually a height of 400 ft. You’ll also want to “square-up” your image, with one of the main rooflines parallel to the edges of your photo, as this will make the measuring process a lot easier.
After obtaining your measurement image, you can return your drone to a lower altitude in order to take your inspection photos. These photos should be close enough to the roof in order to spot any shingle damage, chimney leaks, or hail impacts, while also far enough away that the homeowner or adjuster can understand where on the roof the image was taken.
While you’re on site flying your drone, be sure to take a measurement of one of the eaves of your project’s structure. That’ll come in handy during our measurement step.
Step Two: Importing Imagery
Some software can make importing imagery a pain, but RoofSnap’s process is quick and easy. First, you’ll create a project to house your measurement and inspection photos. With RoofSnap you have the option to measure properties using included satellite or HD aerial imagery, but you’ll want to choose to “Upload Your Own Imagery.”
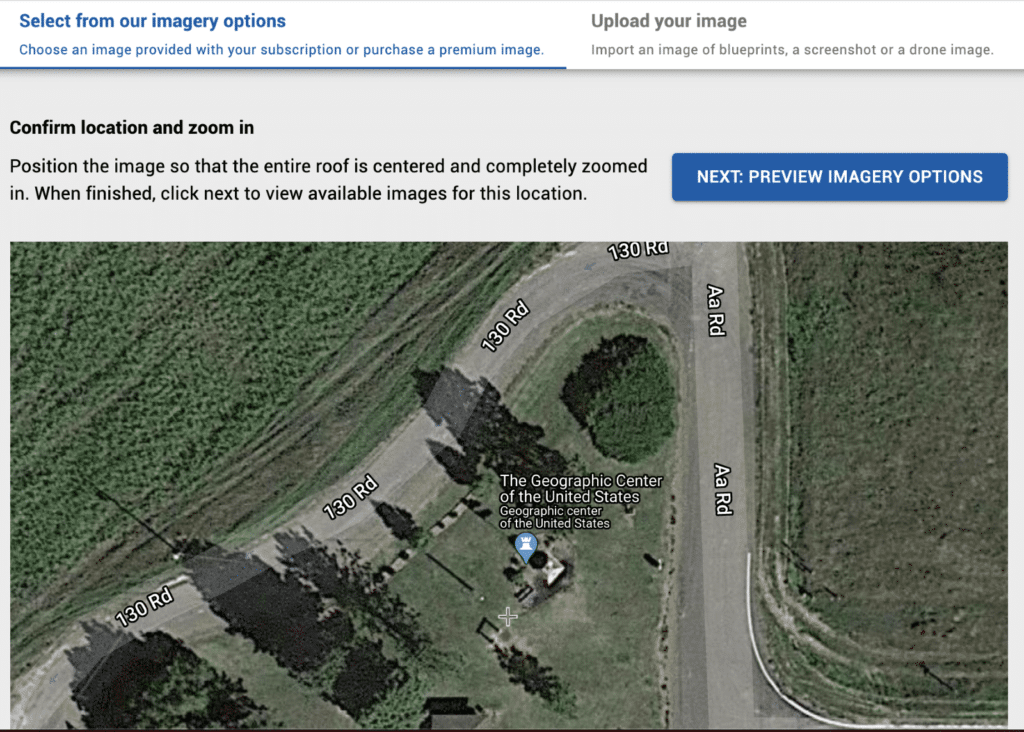
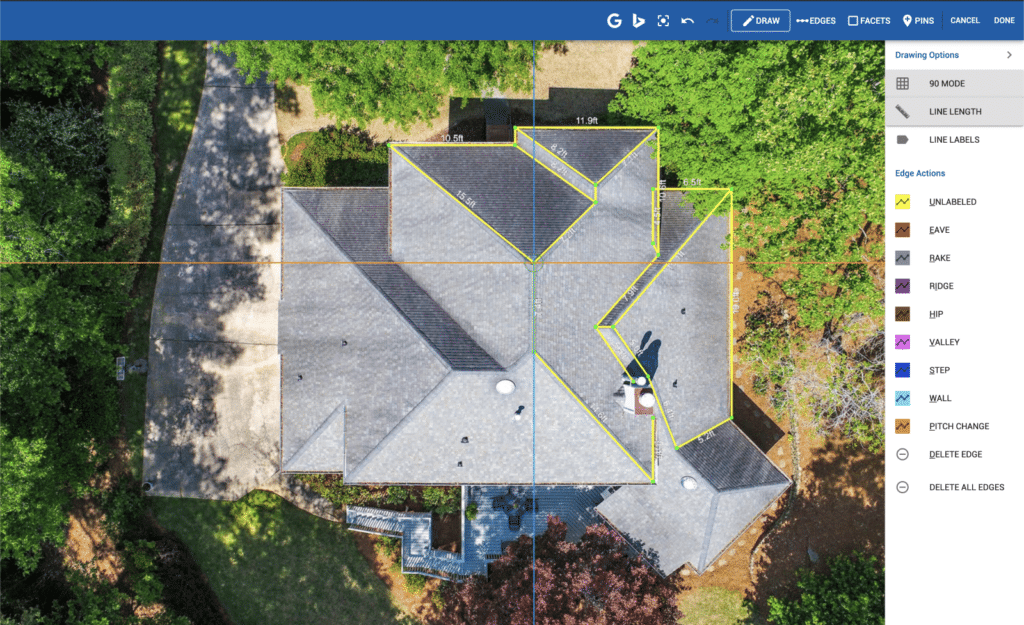
This will prompt you to select the measurement image for your project. At this point, you’ll be prompted to input an on-site scale measurement. From there, you can use RoofSnap’s easy measurement tools to trace and label the lines of the roof to obtain exact measurements of the property. But what about your inspection photos?
RoofSnap’s measurement tools also include a ‘Pins’ feature, which you can use to tag inspection photos directly to the area of the roof where they were taken. A single click or tap will place a pin on the roof, and then tapping or clicking the pin allows you to attach a photo to the pin and include any notes as well. This is a great tool to bring context to homeowners or adjusters, allowing them to see exactly what shape their roof is in.
Step Three: Creating a report
The last step in your drone measurement and estimation process is pulling your measurements, inspection images, and notes into your customer-ready report. Again, RoofSnap makes this process a matter of a simple click. With your property measured, your inspection photos tagged to the roof with associated notes, you’re ready to generate what we call a “Sketch Report.” Head into the documents tab of your project, click the “Add New” button and select the Sketch Report from RoofSnap’s suite of professional documents. RoofSnap then compiles a measurement report featuring your drone measurement image and includes an Assessment portion that displays your inspection photos, where they’re placed on the roof, and their notes.
Check out a sample Sketch Report with Assessment Here – Assessment pins and images are on pages 6 and 7.
With a Sketch Report in hand, you’re ready to show the homeowner what the condition of their roof is. And if you need to give them a quote on a roof replacement, RoofSnap makes building estimates a breeze.
If you’re ready to try out RoofSnap’s software for yourself, sign up for a free trial. You’ll have access to all the tools needed to measure and estimate with your drone, with no credit card required. You’ll also receive a free order from our in-house measurement report service, so you can give your drone the day off and still get accurate measurements.